The practical answer
Use aperture priority when depth matters most, shutter priority when motion matters most, and manual exposure when a sequence needs consistent brightness. Manual with Auto ISO keeps your chosen aperture and shutter speed while adapting ISO to changing light, within the camera's configured limits.
Choose the Setting That Shapes the Photograph
A camera's exposure modes divide the work between photographer and meter. The creative starting point is the picture: a sharp gesture, a shallow plane of focus, a flowing river, or a sequence whose tones stay consistent. Choose the mode that holds that decision steady, then let the remaining settings support it.
That is the useful distinction in Fstoppers' Learn Manual Mode, Then Stop Obeying It . Learning manual exposure builds fluency. Using that fluency means knowing when to take direct control and when an automatic adjustment frees attention for light, timing, and composition.
Understanding photographic exposure connects the controls to their visible effects. Shutter speed determines how movement is recorded. Aperture helps establish the depth and separation of the scene. ISO affects the camera's rendering of the captured signal. The mode dial gives those decisions an order.
Let Motion Set the Shutter Speed
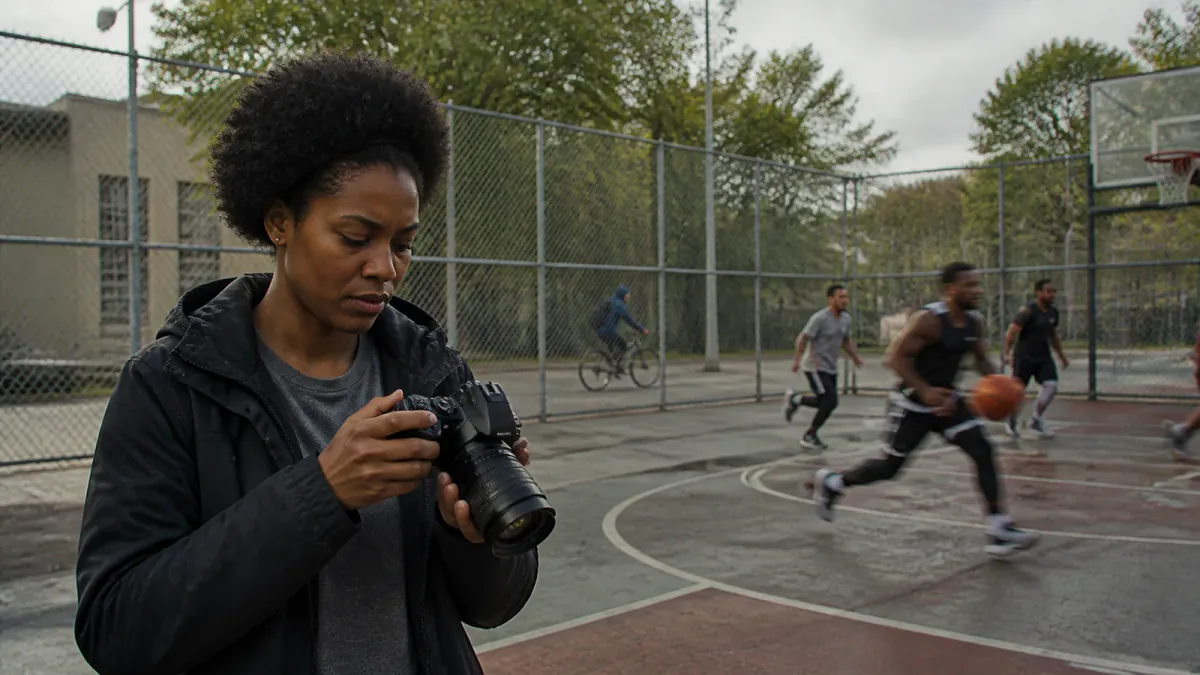
When movement defines the photograph, start with shutter priority. A fast shutter can hold a runner's expression or a bird's wing position. A slower exposure can draw water into pale ribbons or carry a pedestrian's movement through an otherwise still street.
Nikon's shutter-speed guide illustrates how changing exposure time changes the appearance of motion. The important choice is the amount of movement that belongs in the frame. A crisp face with blurred surroundings tells a different story from a uniformly sharp scene.
In shutter priority, the photographer selects the exposure time and the camera chooses the aperture. Watch that aperture as the light changes. Opening the lens reduces depth of field, which can alter the relationship between foreground and background. At the lens's widest setting, dimmer light requires a further adjustment, such as raising ISO.
For panning, begin with the movement you want to show and follow the subject smoothly through the exposure. Review whether its outline remains readable against the streaked background. Adjust the shutter speed to refine that balance. The successful setting depends on the subject's speed, distance, and direction across the frame.
Let Depth Set the Aperture
Aperture priority suits photographs organised around the relationship between subject and surroundings. A wide aperture can soften a distracting background behind a portrait. A smaller aperture can bring several faces or successive planes of a landscape into a useful range of focus.
Depth of field also depends on focus distance and magnification. Moving close to a subject can make the sharp zone surprisingly narrow. In a portrait, inspect the eyes and the position of the face. In a group, look at how far the nearest and furthest people sit from the camera.
The camera supplies the shutter speed in aperture priority. As light falls, keep that value appropriate for both subject movement and camera shake. A person shifting their weight may need a faster exposure than the surrounding architecture. Image stabilisation helps with camera movement, while the subject's motion still needs its own allowance.
Where the camera provides it, a minimum-shutter setting with Auto ISO helps maintain that working pace. Choose the threshold for the scene and watch what happens when the camera reaches its ISO limit.
Hold Shutter and Aperture With Auto ISO
Manual exposure with Auto ISO combines a chosen shutter speed and aperture with automatic ISO adjustment. Nikon's Auto ISO guide describes this arrangement: the photographer fixes the two settings, and the camera adjusts ISO as illumination changes.
It is a useful combination for action moving between sun and shade. The shutter stays fast enough for the gesture, while the aperture preserves the intended depth. It also suits location portraits where subject and photographer move through patches of different light.
Set an ISO ceiling that suits the camera and intended output. Check the exposure when that ceiling is reached. With shutter and aperture fixed, a darker scene can then produce an underexposed image. Opening the aperture, lengthening the exposure, or adding light each changes the photograph in a different way.
The meter remains part of this setup. A bright background or dark clothing can influence its reading, even when the light on the subject is steady. Judge the face or other important tones in the resulting image, alongside the camera's exposure display.
Use Fixed Exposure for a Consistent Sequence
Manual mode with a fixed ISO is particularly useful under steady light. Once the exposure is established, it stays consistent as a subject changes position, a pale shirt enters the frame, or a different background fills more of the composition.
This consistency helps with studio portraits, product photographs, and panoramas made under stable illumination. Establish the exposure for the important tones, then concentrate on arrangement, expression, and the relationship between frames. Recheck it when the lighting itself changes.
A short comparison makes these choices tangible. Photograph one changing scene in aperture priority, shutter priority, and manual with Auto ISO. Keep the intended brightness similar. Compare the rendering of motion, the depth of the scene, and how easily you could respond to a fleeting gesture. The most useful mode is the one that keeps the photograph's defining quality under control and leaves you attentive to what happens next.
Worked example: a portrait moves into shade
Suppose a walking portrait starts at 1/500 second, f/2.8, ISO 200. If the subject enters light two stops dimmer, manual with Auto ISO can raise ISO to 800 while retaining the shutter speed and aperture. Nikon's Auto ISO explanation documents the underlying behavior.
Aperture priority with fixed ISO might instead lengthen the exposure to 1/125 second. The brightness can match, but a moving hand is more likely to blur. Fixed manual exposure retains ISO 200 and records the shaded subject darker until you intervene. Compare the eyes and moving fingers, not brightness alone.
If ISO 800 exceeds your chosen ceiling, decide which quality can change: open the lens, accept a slower shutter, or add light. Use the flash and continuous-light comparison when changing the light is practical.
For small apertures, the diffraction guide explains how extra depth of field can trade against fine-detail contrast. Compare the subject at the same output size before stopping down further.