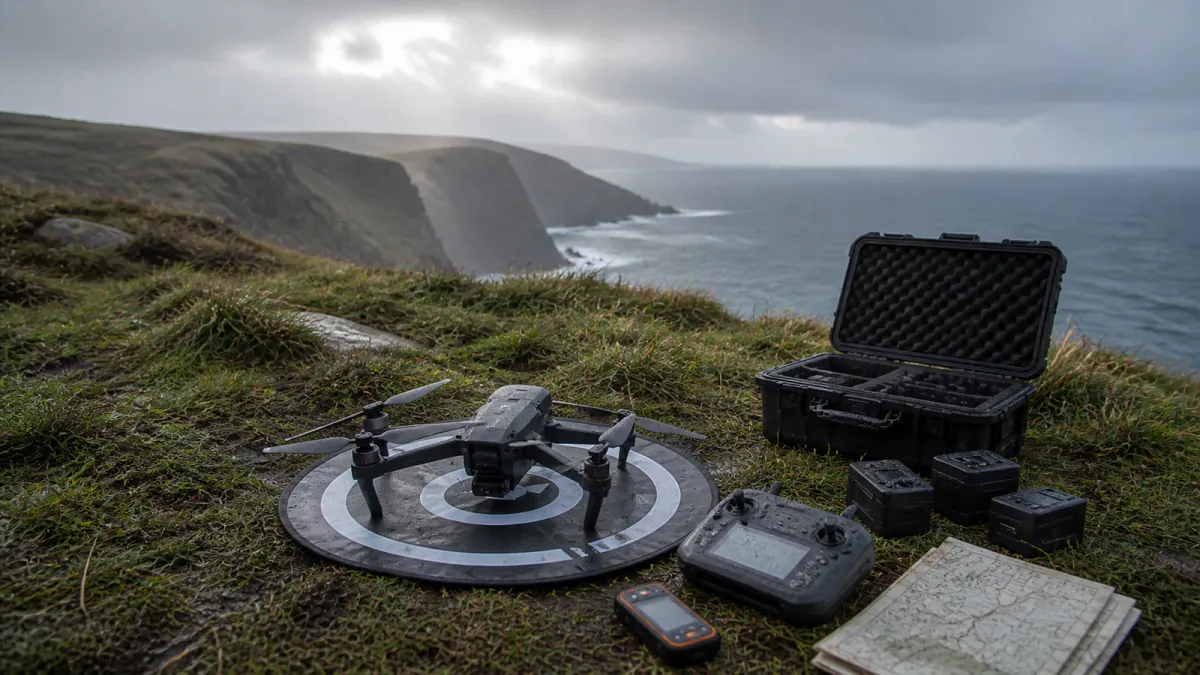
A Good Aerial Photograph Begins on the Ground
Aerial photography brings shape, scale, and spatial relationships into view. A shoreline becomes a line through the frame, a stand of trees becomes a pattern, and a modest change in height can separate a subject from its surroundings. A prepared flight gives the photographer room to work with those possibilities.
The Fstoppers guide to beginner drone mistakes connects aircraft preparation with smoother camera work. Its practical lesson is a clear sequence: establish the flight's purpose, check the aircraft, confirm the airspace and launch location, assess conditions, and then plan the photograph.
The regulatory references below concern the United States. For another country, use its aviation authority's requirements for the intended location and operation.
Establish the Purpose of the Flight
The FAA's recreational-flyer guidance distinguishes flying purely for personal enjoyment from non-recreational work. Payment alone does not determine the category. Photography for a business, organisation, or other non-recreational purpose generally falls under Part 107.
Identify that purpose before travelling. It determines the qualifications and operating framework needed for the shoot. A creative brief and a clear operational plan belong together, whether the photograph is for a client, an organisation, or personal enjoyment.
For qualifying recreational flying, complete TRUST and carry proof. Confirm registration and Remote ID requirements for the aircraft's actual configuration, and follow the required safety guidelines. Keep the relevant records accessible with the equipment.
That preparation makes the location visit more useful. Once the operating requirements are established, the photographic questions can become specific: the direction of the light, the pattern to emphasise, the subject's position, and the height that makes the composition readable.
Check the Aircraft in Its Flight Configuration
Inspect the assembled drone with the battery and accessories you intend to use. Attachments can affect takeoff weight, clearance, balance, and available flight time. Follow the manufacturer's guidance for the exact aircraft and fitted equipment.
A concise equipment check covers the essentials:
- Inspect propellers and mounting points for damage or looseness.
- Confirm batteries are healthy, charged, securely fitted, and suitable for the temperature.
- Check the controller, display, storage capacity, and completed firmware installation.
- Confirm the recorded home point and the aircraft's response to signal loss.
- Set return-to-home behaviour and altitude for the obstacles and permitted limits at the location.
Learn those recovery controls in an appropriate open practice area. Knowing how the aircraft behaves gives you a clear response when orientation, signal, or conditions change. It also reduces the amount of attention spent searching menus during a flight.
Check the camera at the same stage. A clean lens, available card space, and deliberate stills or video settings are simple foundations for bringing back usable material.
Read the Airspace and the Launch Site
The FAA's B4UFLY resources provide airspace information through approved services, including controlled areas and temporary restrictions. Check the location and intended flight area, then obtain any required authorization before launch.
For eligible controlled-airspace operations, LAANC supports near-real-time authorization requests through approved suppliers. Its authorization covers airspace. Weather, notices, other restrictions, and the conditions attached to the permission still govern the flight.
Ground access is a separate part of the plan. Confirm the landowner's or managing authority's rules for takeoff, landing, and operating from the site. Identify a clear launch and recovery area, and consider how people might move through it while you are airborne.
Look across the whole intended route. Trees, wires, structures, animals, and passing traffic are part of the operating environment. A map provides useful context, while a careful view from the ground establishes what is actually around the aircraft.
Plan the Return Alongside the Outbound Flight
Assess wind, gusts, visibility, temperature, and precipitation against the aircraft's limitations. Conditions above the launch point can differ from those at ground level. Allow for that difference when choosing the working area and the distance from home.
Set a return threshold that leaves a meaningful battery reserve, including the energy needed to fly back against the wind. Keep the aircraft within visual line of sight and give way to other aircraft. Make the route manageable throughout the flight, with a clear place to land.
If conditions exceed the plan's limits, keep the drone on the ground. A ground-level study of the location can still establish useful viewpoints, foreground relationships, and the direction of the light for a later visit.
Give Each Frame or Move a Clear Purpose
With the flight established, simplify the shot. In aerial photography , height is a compositional choice. A lower viewpoint may preserve depth and the profile of a subject. Looking more directly down can emphasise geometry and the relationship between shapes.
For still photographs, settle the framing and inspect the edges before releasing the shutter. Look for overlaps, distracting bright areas, and the position of the main subject within the surrounding pattern.
For video, choose one controlled movement per take: a measured rise, a steady approach, or a gentle orbit. Establish the composition before moving, use smooth inputs, and leave a stable beginning and end for the edit. A simple move gives the viewer time to understand the space.
Keep observing the flight conditions as you work. Recover the aircraft when people enter the operating area, visual contact weakens, or the wind and battery margin change. A clear plan connects safe operation with deliberate image-making, leaving more attention for light, geometry, and timing.