Bring the Darkroom Routine Into the Field
Developing film on location brings the photograph full circle: a landscape seen through the viewfinder becomes a negative you can hold. The craft lies in giving each stage enough attention, from the first exposure to the final drying space.
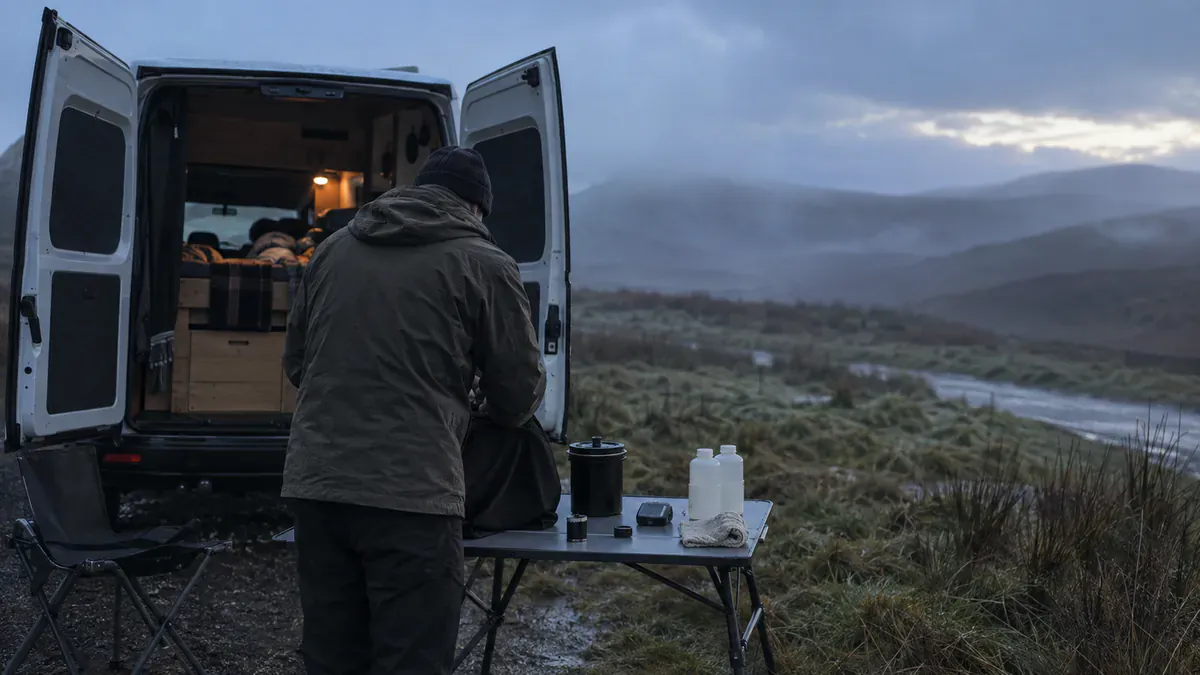
In Alex Cooke's Fstoppers account of Thomas Heaton's Scottish field experiment , Heaton photographs Assynt on medium-format black-and-white film and processes the rolls in a camper van. Loading the reel proves particularly demanding in the heat. Drying takes close to eight hours, and a favorite lighthouse reflection suffers physical damage. These details make a useful starting point for building a mobile workflow around preparation, consistent handling, and unhurried finishing.
The best first session begins near home. Choose a subject you can revisit, use a familiar film, and give the processing its own uninterrupted afternoon. A successful rehearsal should leave you knowing where every tool belongs and which parts of the routine need more room.
Learn the Reel by Touch
A changing bag replaces the darkroom for loading a conventional daylight tank. It does not replace familiarity with the reel. Ilford's loading guidance recommends practicing with unwanted film in daylight, then with eyes closed, and keeping the spiral completely dry. Its grooves separate the film so chemistry can reach the emulsion evenly.
Use a practice roll of the format you intend to shoot. With 120 film, rehearse separating the backing paper and feeding the film without losing control of the loose length. Repeat the complete sequence inside the bag, including fitting the tank's light-tight components according to its manual. Keep the tank, reel, and necessary tools in the same positions each time.
Set up in a comfortable position with space for both arms. Notice when you begin gripping harder or rushing. Those are good cues to slow the rehearsal and identify the sticking point. Confidence comes from recognizing the feel of a clean feed, not from winning a race against the clock.
Exposed film needs complete darkness during this loading stage. A red safelight is not a substitute. Open the bag only after the film is securely enclosed in the correctly assembled light-tight tank.
Make Exposure Decisions Before You Travel
Long exposures add their own character to a landscape: water softens, passing clouds stretch, and still rock becomes a stronger visual anchor. Film also brings a stock-specific exposure consideration. Reciprocity failure means that sufficiently long exposures can need more time than the meter indicates.
Ilford's Delta 100 technical information specifies additional exposure beyond one second. Save the instructions for your chosen stock before leaving coverage, alongside filter factors and a notebook for the actual settings. Use the manufacturer's correction method rather than borrowing a value from another film.
For an initial test roll, photograph a repeatable scene at an ordinary shutter speed as well as any ambitious filtered exposure. Process the roll as a whole. Comparing those frames gives you a reference when judging density and tone, without pretending that one frame can be developed separately inside a normally loaded roll-film tank.
The Newsroom waterfall tutorial develops a complementary exercise: compare shutter speed and reflections while keeping the composition steady. That habit makes experiments easier to read, whether the final image begins on film or a sensor.
Give Chemistry a Consistent Workspace
Pack a compatible tank and reel, measuring vessels, a thermometer, timer, clean water, labeled chemical containers, suitable protection, and film clips. Check water and storage capacity against the complete sequence, including washing.
Ilford's processing guide sets out the main stages of photographic processing : development, stopping, fixing, washing, and drying. Use the film-and-developer combination's specified dilution, temperature, time, and agitation. Record those choices before mixing, then record what actually happened.
In a compact vehicle, give the wet work a defined area. Keep it separate from food preparation, provide ventilation, and use stable surfaces with spill containment. Follow the product label and safety data sheet for protective equipment and handling. Ilford's health and safety guidance also calls for different waste chemicals to remain separate and labeled. Arrange an appropriate disposal route before traveling, and carry waste to that route rather than releasing it onto the ground or into waterways.
An organized layout makes the photographic decisions easier to follow. Put the written sequence where it stays dry, keep the timer visible, and leave enough clear surface to move a full container without reaching over another one.
Let the Negative Finish Properly
Reserve a clean hanging space before the first chemical is poured. Wet film needs clearance from clothing, upholstery, and passing hands, with a tray below for drips. Allow the drying stage to determine when you scan or sleeve the negatives.
Once dry, handle film by its edges and inspect it before cutting. Compare the ordinary exposures with the longer ones, then note image density, visible marks, and any interruption in the processing routine. Keep those notes with the negatives so the next roll builds on a specific observation.
If the vehicle cannot offer a suitable work surface or drying space, save development for a better-equipped location. The field session can still be complete as a photographic experience. The point is to bring home both a considered exposure and a negative that preserves it.