The practical answer
Find a useful light boundary, choose a viewpoint that separates spatial layers, and wait for a gesture that gives the arrangement a subject. Compare a camera-position change with a timing change. They solve different problems, even when both make the final frame clearer.
Let the scene develop
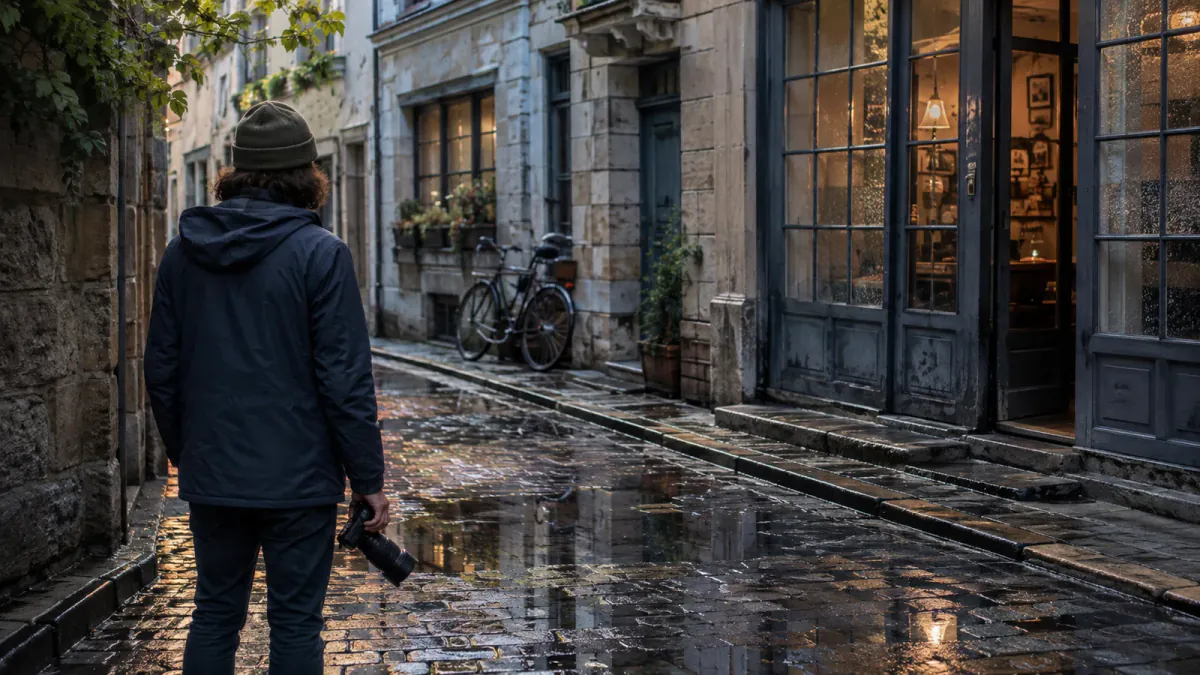
A street photograph takes shape through the relationship between light, space, and the people moving through it. Exposure and focus make that relationship visible. Camera position and timing give it structure. A short pause can reveal how those elements might come together before the shutter is released.
In Alysa Gavilan’s account of Max Kent’s photography lesson , observation leads the process. Kent emphasizes light, anticipation, spatial depth, and an additional detail that gives the scene character. His approach offers a productive starting point for a small field exercise: choose one location, make a few deliberate variations, and compare what each decision contributes.
Use a camera you can operate comfortably, including a phone. Set exposure and focus in a way that leaves attention available for the street. The exercise works best when the controls support observation rather than interrupting it. A doorway, corner, sheltered passage, or stretch of pavement can provide enough material for the whole sequence.
Read the light from more than one position
Spend two minutes looking before making the first frame. Find the edge of a shadow, a bright reflected surface, and a place where someone could move through the light. Watch how those areas connect. A face emerging from shade, a coat crossing a pale wall, or sunlight catching a hand can become the photograph’s point of emphasis.
Move a few steps and look again. Side light may bring texture out of a wall. Backlight may turn a figure into a readable silhouette. Under an overcast sky, the distinction may come from tonal contrast rather than a hard shadow. Each condition offers a different way to separate the subject from the setting.
Choose which tones carry the picture. If the illuminated area is the main attraction, preserve its important detail. If the silhouette is central, judge the shape and its separation from the background. Review the frame briefly, then return attention to the scene so the screen does not become the main subject of the outing.
The useful question is specific: where would a gesture or moving figure become clearest in this light? Answering it helps turn a promising location into a composition.
Build a path through the frame
Depth often begins with a small change in viewpoint. A doorway near the camera, a pedestrian farther away, and a wall beyond can establish three distinct planes. A reflection can connect those planes or introduce a second visual space.
Use the vocabulary of composition to describe what is happening. Identify the strongest line, the largest shape, and the area with the greatest contrast. Then consider how the eye travels between them. If every element competes at once, simplify the viewpoint or wait for a clearer arrangement.
Foreground does not have to mean a large object blocking the view. A narrow edge, a patch of pavement, or the side of a window may be enough to establish the camera’s position. Give it a role in relation to the subject. An element that leads into the image behaves differently from one that divides it.
Make one frame from the first position and another after moving sideways or changing camera height. Keep the main scene recognizable between them. The comparison will show whether the new position creates useful separation, awkward overlaps, or a stronger visual rhythm.
Anticipate the next relationship
Listen as well as look. Footsteps, an approaching bicycle, or activity at a doorway can suggest what might enter the composition. Preparing a position gives you time to consider the background before the movement arrives.
Kent calls attention to the next thirty seconds. Treat that interval as an invitation to observe. Make the first frame when the scene works, then stay long enough to notice a change in gesture, spacing, reflection, or light. A second person may complete a rhythm. An empty gap may become more expressive after someone leaves.
This is an active part of street photography : recognizing an unfolding relationship and choosing when to describe it. Keep pavements and entrances clear, respect personal space, and move on when the situation calls for it. Observation works best when it remains attentive to the people sharing the location.
Added detail should strengthen the photograph’s subject. A vivid coat may balance a sign, while an unrelated passerby may obscure the gesture that matters. Waiting provides alternatives. Selection determines which one deserves to remain.
Compare three frames
Build a short sequence from the same scene. First, make the frame that initially attracts you. Second, change position to clarify the spatial arrangement. Third, wait for a new element or moment that changes the relationship.
Review the sequence later at the same size and with comparable processing. Name where the eye lands first, where it moves next, and which detail holds attention. The simplest frame may carry the strongest idea. The point of the comparison is to recognize why.
My Cropping With Intention essay on Kisau explores how edges, negative space, and a visual anchor change a portrait. Bring that same attention to the street sequence. Try a restrained crop, then compare it with the full frame to see what context has been lost or clarified.
The one-word photo-selection exercise offers another editing prompt. Choose a word for the relationship you want the image to express, then examine which frame communicates it most clearly. Carry that observation into the next outing. One well-understood decision is a useful foundation for the next photograph.
Worked example: a bright wall and two passing figures
Imagine a pale wall crossed by pedestrians, with a dark doorway nearby. Frame A places two figures in an overlap. For B, move sideways to separate the doorway from the nearer person's head. For C, hold that improved viewpoint and wait until the figures occupy different parts of the wall.
Compare A with B for geometry, then B with C for timing. Keep exposure and focal length consistent where possible. If the light on the figures is stable, fixed manual exposure can prevent a larger patch of dark doorway from changing their brightness. The camera-modes guide explains that exposure choice.
Write down which relationship made C worthwhile: separated silhouettes, opposing gestures, or a gap that became readable. On the next visit, use the pattern-recognition exercise to find a different relationship in the same location. Waiting becomes useful when it produces alternatives you can explain.